How to Install Uptime Kuma on Ubuntu Using Docker

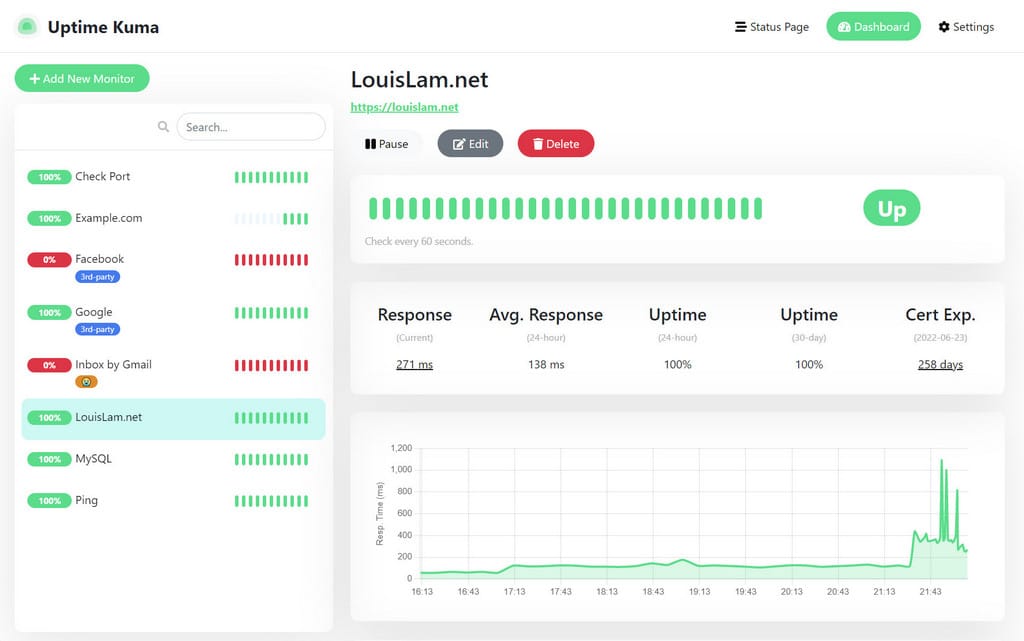
Uptime Kuma is an easy-to-use self-hosted monitoring tool and a powerful monitoring tool that offers a simple, visually appealing, and efficient solution for monitoring various services, such as websites, servers, or even local computers.
It also has the extensive notification features, allows you to send alerts to platforms such as Discord, Telegram, and more, making it an excellence choice for self-hosted managing service uptime and performance.

If you’re like me and prefer a cleaner, more manageable setup, using a docker-compose.yml file for Uptime Kuma is the way to go. While the official Docker command works just fine, setting up with a .yml file makes it easier to tweak and manage later. Let me walk you through how I like to set this up.
Prerequisites:
Before starting, ensure Docker and Docker Compose are installed and running on your Ubuntu system.
Follow these steps to install it on Ubuntu with Docker:
- Create a directory for Uptime Kuma:
mkdir uptime-kuma
cd uptime-kuma- Create a
docker-compose.ymlfile:
- Use a text editor to create and edit the
docker-compose.yml
sudo nano docker-compose.yml- Add the following content to the file:
version: '3.7'
services:
  uptime-kuma:
    image: louislam/uptime-kuma:latest
    container_name: uptime-kuma
    restart: always
    ports:
      - "3001:3001"
    volumes:
- ./data:/app/data- Start the Uptime Kuma container: Once you've created the
docker-compose.ymlfile, ensure you are in the same directory where the file is located. Then, run the following command to pull the Uptime Kuma image and start the container:
sudo docker-compose up -dsudo apt-get install -y docker-compose- Verify the installation: Check that the container is running:
sudo docker psYou should see uptime-kuma listed as a running container.
- Access Uptime Kuma: Open a web browser and navigate to:
http://<your-server-ip>:3001Replace <your-server-ip> with the IP address of your Ubuntu server.
- Set up Uptime Kuma: Follow the on-screen instructions to configure your monitoring dashboard.
Maintaining and Updating Uptime Kuma
To keep Uptime Kuma updated, simply navigate to the directory where your docker-compose.yml file is located and run the following commands:
sudo docker-compose pull
sudo docker-compose up -d
These commands will:
- Pull the latest Uptime Kuma image.
- Restart the container with the updated image.
Conclusion
With Uptime Kuma, you can set up a powerful and visually appealing monitoring solution in just a few steps. By leveraging Docker Compose, you ensure your setup remains clean, manageable, and easy to maintain. Whether you're monitoring a personal project or critical business services, Uptime Kuma offers the tools you need to stay informed and responsive.
Start your Uptime Kuma journey today and ensure your services stay online and performant! 🚀
Do you enjoy this blog post?


