How to Set Up GitHub CI/CD on Your Local Ubuntu Server Using a Self-Hosted Runner


Let’s say I want to setup GitHub CI/CD action to my local ubuntu server. How can I do that?
In this blog article, I’ll walk you through setting up GitHub Actions to deploy to your own Ubuntu server without relying on SSH commands. Instead, we'll install and configure a GitHub self-hosted runner, allowing a seamless, automated deployment pipeline.
Let's dive in!
Why Use a Self-Hosted Runner?
Using a self-hosted runner offers several advantages:
- More Control: You can fully configure the environment according to your needs (e.g., installing custom software, optimizing hardware).
- Cost Savings: No need to pay for additional cloud runners if you already have your own server.
- Faster Deployment: Since your runner is local, deployments are quicker, with minimal network latency.
- Customization: You can run Docker, specialized build tools, or custom scripts that might not work in GitHub's default environments.
Step 1: Create the GitHub Workflow File
Before setting up the runner on your server, we need to prepare the GitHub Actions workflow that will use the self-hosted runner.
Create a file called deploy.yml inside the .github/workflows directory of your repository:
name: cicd-python-app

on:
  push:
    branches: ["main"]
env:
  # Define the project directory
  PROJECT_DIR="your-project-name"

jobs:
  build:
    runs-on: self-hosted

    steps:
      - name: "checkout code"
        uses: actions/checkout@v3

      - name: "deploy to local server"
        run: |

          # Define the runner project directory
          RUNNER_PROJECT_DIR="$HOME/actions-runner/_work/your-repo-name/$PROJECT_DIR"

          # Define the project directory store at local Ubuntu
          SERVER_PROJECT_DIR="$HOME/$PROJECT_DIR"

          # Function for error handling
          handle_error() {
            # show the message as a formatted error
            echo "::error::Error occurred in deployment: $1"
            # Stop and remove Docker containers if the project directory exists.
            # Ignore any errors during cleanup to ensure the script exits gracefully.
            if [ -d "$SERVER_PROJECT_DIR" ]; then
              cd "$SERVER_PROJECT_DIR"
              # Try to bring down any running Docker containers
              docker-compose down || true
            fi
            exit 1
          }

          # Create or update project directory
          if [ ! -d "$SERVER_PROJECT_DIR" ]; then
            echo "::group::Creating new project directory"
            cp -rf "$RUNNER_PROJECT_DIR" "$SERVER_PROJECT_DIR"
            echo "::endgroup::"
          else
            echo "::group::Updating existing project directory"
            cd "$SERVER_PROJECT_DIR"

            # Stop containers gracefully
            echo "::notice::Stopping existing containers..."
            docker-compose down --remove-orphans || true

            # Clean up Docker resources
            echo "::notice::Cleaning up Docker resources..."
            docker system prune --all --volumes --force -f

            # Copy new code
            echo "::notice::Copying new code..."
            cp -rf "$RUNNER_PROJECT_DIR"/* "$SERVER_PROJECT_DIR/"

            echo "::endgroup::"
          fi

          # Build and start containers
          echo "::group::Building and starting containers"
          cd "$SERVER_PROJECT_DIR"

          # Function for error handling
          handle_error() {
            echo "::error::Error occurred in deployment: $1"
            # Attempt to restore previous state if possible
            if [ -d "$SERVER_PROJECT_DIR" ]; then
              cd "$SERVER_PROJECT_DIR"
              docker-compose down || true
            fi
            exit 1
          }

          # Create or update project directory
          if [ ! -d "$SERVER_PROJECT_DIR" ]; then
            echo "::group::Creating new project directory"
            cp -rf "$RUNNER_PROJECT_DIR" "$SERVER_PROJECT_DIR"
            echo "::endgroup::"
          else
            echo "::group::Updating existing project directory"
            cd "$SERVER_PROJECT_DIR"

            # Stop containers gracefully
            echo "::notice::Stopping existing containers..."
            docker-compose down --remove-orphans || true

            # Clean up Docker resources
            echo "::notice::Cleaning up Docker resources..."
            docker system prune --all --volumes --force -f

            # Copy new code
            echo "::notice::Copying new code..."
            cp -rf "$RUNNER_PROJECT_DIR"/* "$SERVER_PROJECT_DIR/"

            echo "::endgroup::"
          fi

          # Build and start containers
          echo "::group::Building and starting containers"
          cd "$SERVER_PROJECT_DIR"
          docker-compose up -d --build
          echo "::endgroup::"

          echo "::notice::Deployment completed successfully!"
Note:
- Replace"your-project-name"and"your-repo-name"with your actual project and GitHub repository names.
Step 2: Set Up the Self-Hosted Runner on Ubuntu Server
Now let's install the GitHub Actions runner software on your local Ubuntu server.
a. In your local server, create a directory called action-runners and navigate into it:
mkdir actions-runner && cd actions-runnerb. Next, download the latest version of the runner package:
curl -o actions-runner-linux-x64-2.323.0.tar.gz -L https://github.com/actions/runner/releases/download/v2.323.0/actions-runner-linux-x64-2.323.0.tar.gzc. Then extract the downloaded package with the command:
tar xzf ./actions-runner-linux-x64-2.323.0.tar.gzNow you have the runner binaries extracted in the actions-runner folder.
Step 3: Configure the Runner with GitHub
Back in your GitHub repository:
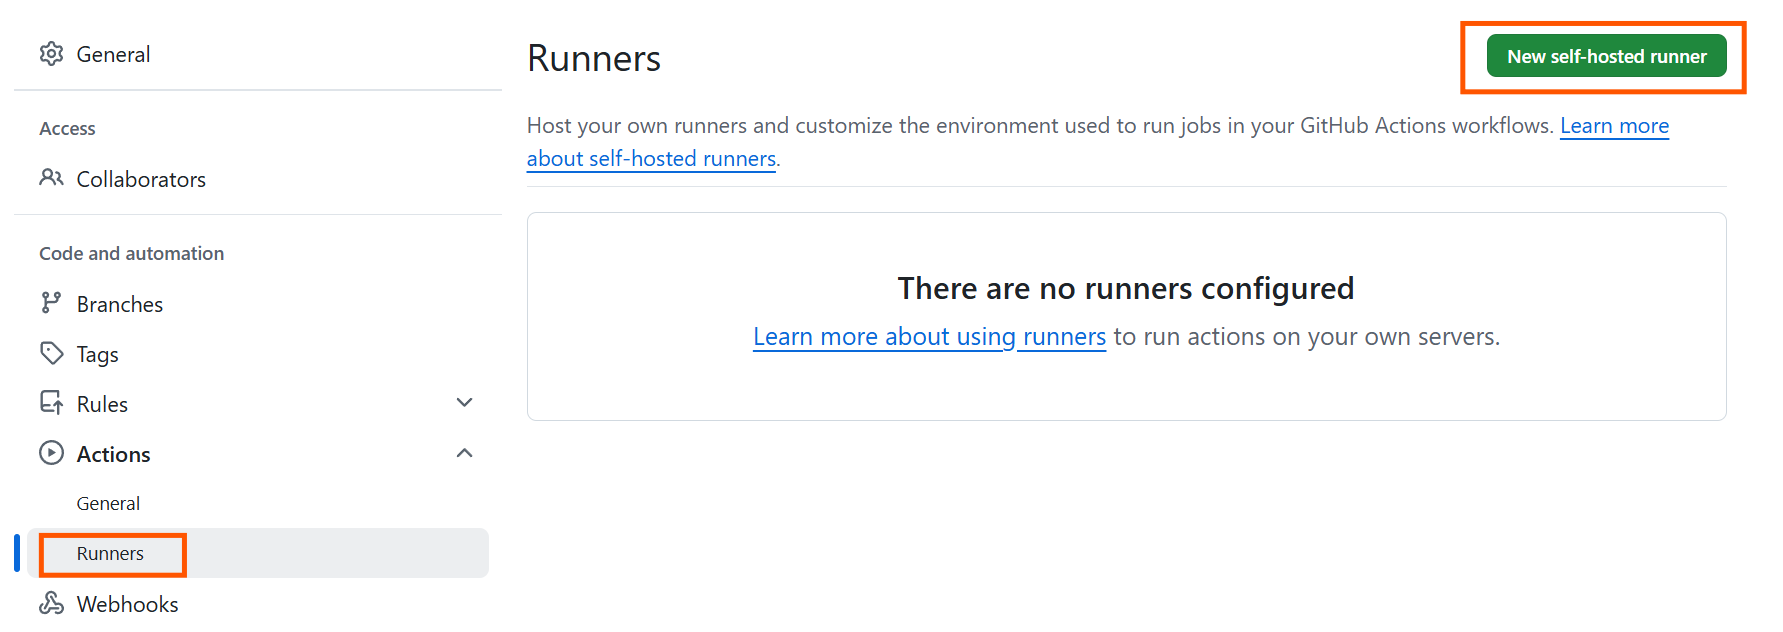
a. Go to Settings > Actions > Runners > Click New self-hosted runner:
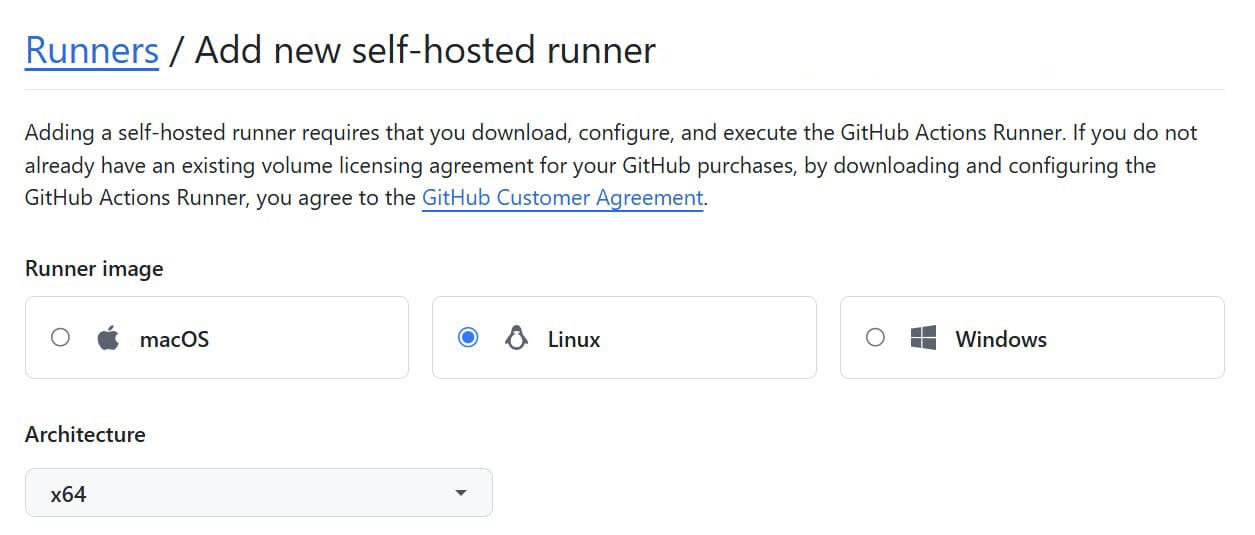
b. Select Linux as the runner image.
c. Follow the displayed instructions. You’ll see a command listed similar to:
./config.sh --url https://github.com/<your account name>/your repository --token XXXXXXXXXXXXXXXXXXXXXXXXXXXRun that command inside your server's actions-runner directory to link your runner to GitHub.
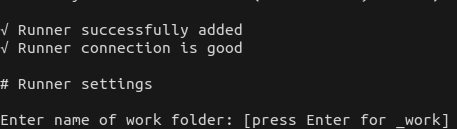
d. You’ll be prompted to:
- Choose the runner group (press Enter for Default).
- Name your runner (e.g.,
my-runner). - Optionally add labels (you can skip this by pressing Enter).
Once successful, you’ll see a message indicating that your runner has been configured.
Step 4: Run the Runner
To start the runner manually, use:
./run.shIf successful, you'll see output shows Connected to GitHub:

But this does not run in the background, If you close the terminal or hit Ctrl+C, the runner will stop.
Step 5: Set Up the Runner as a Background Service
To keep the runner alive even after rebooting or logging out, we should install it as a service.
a. First, stop the manual runner by pressing Ctrl+C. Then, install the runner service:
sudo ./svc.sh installb. Start the service with the command:
sudo ./svc.sh startc. You can also check the status of the runner:
sudo ./svc.sh status
Awesome — your runner is now set up to keep running in the background and will restart automatically if your server ever reboots!
Now, every time you push changes to your main branch, your app will be built and deployed straight to your self-hosted server, no extra work needed from you. 🎉
If you found this guide helpful, consider supporting me!